Our First Installation of the New Velux Modular Skylight (VMS) System.
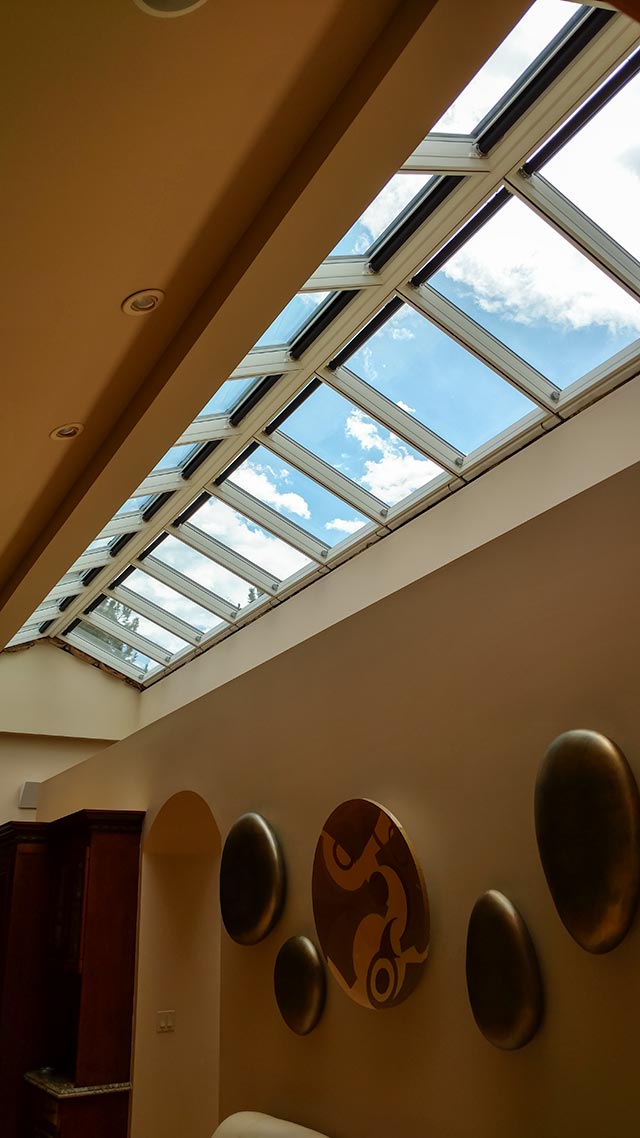
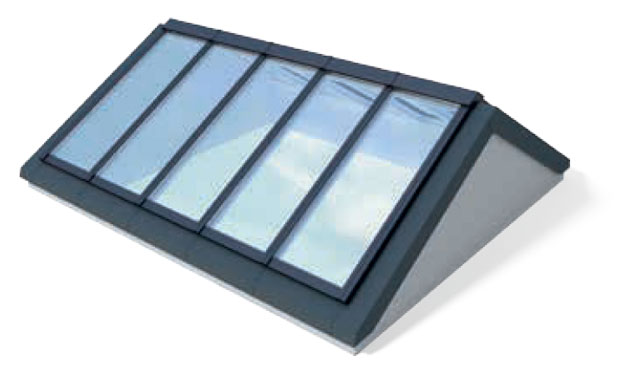
This residence in the Cherry Hills Village neighborhood is a perfect candidate for the new Velux Modular Skylight system introduced this year by Velux USA.
What We Will Do:
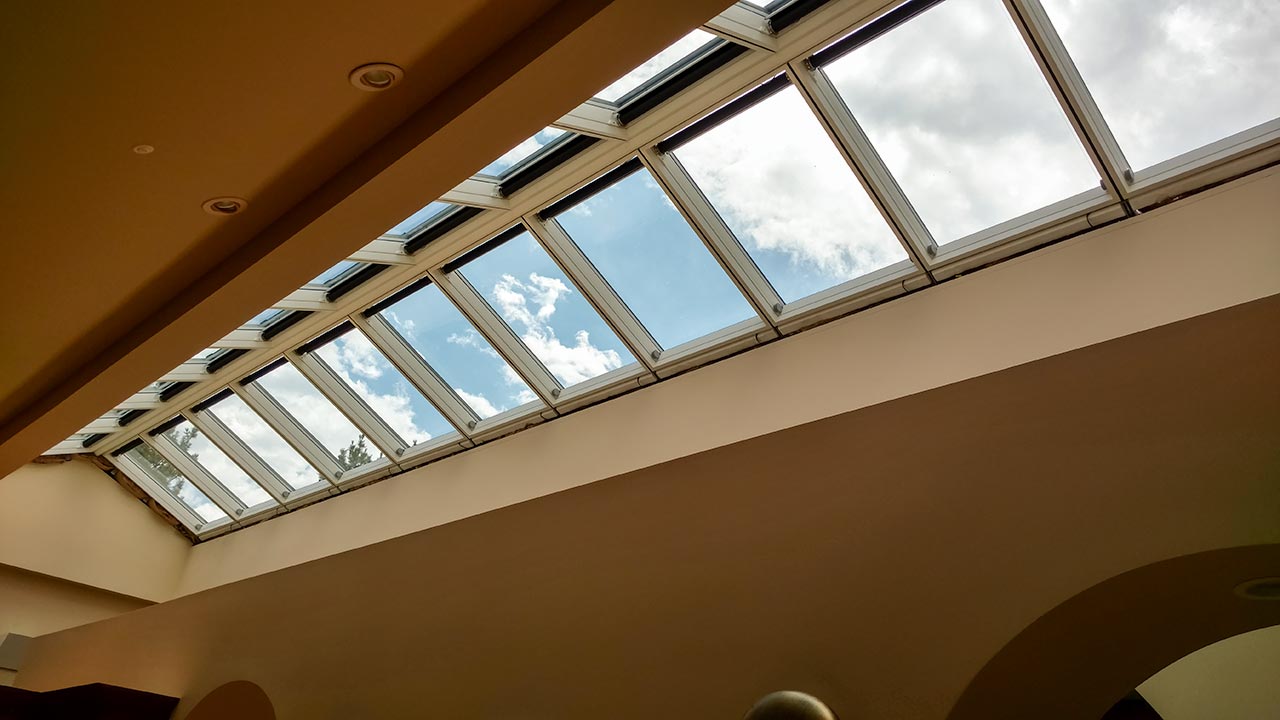
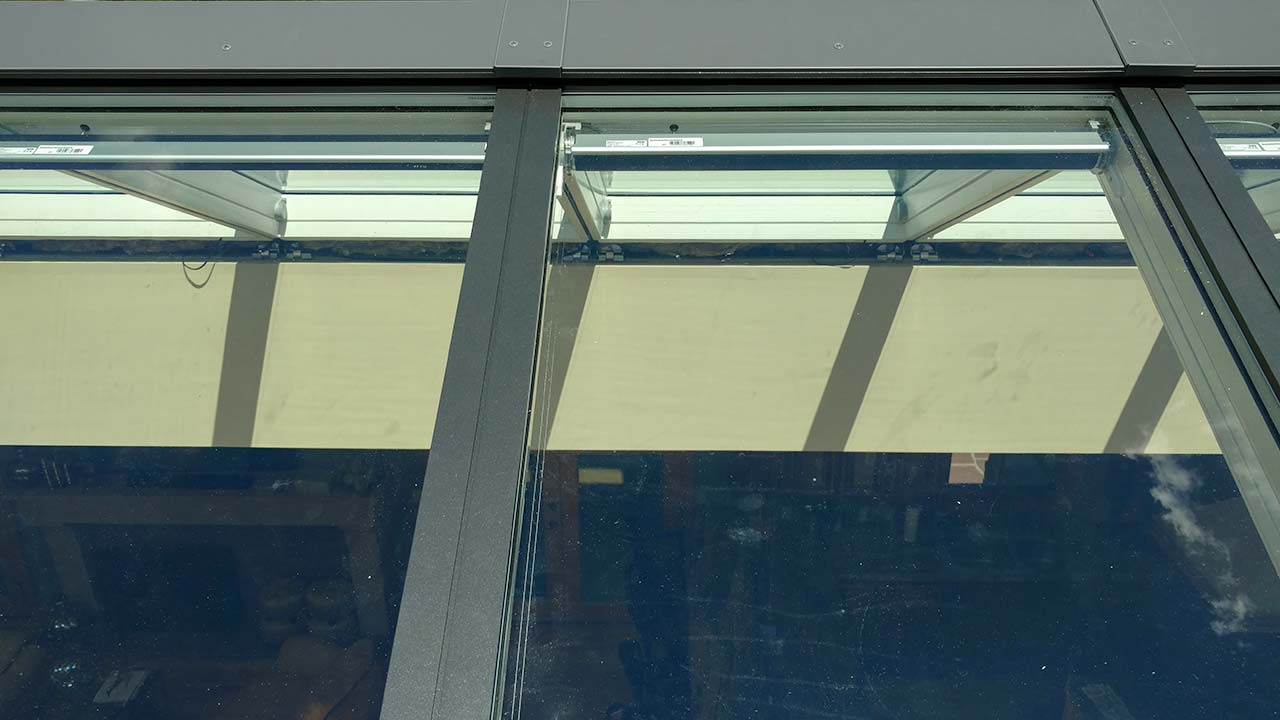
We will supply and install one twenty two unit VMS Ridgelight with electric roller blinds. The system includes building management integration into the HVAC system for automatic building climate control energy savings mode—integrates with 24v DC current open/close contact relay input.
Product Used:
- Velux VMS Ridgelight.
- 22 skylight modules total, module size 35.4″ x 55.1 “.
- Fixed units with shades.
Day One:
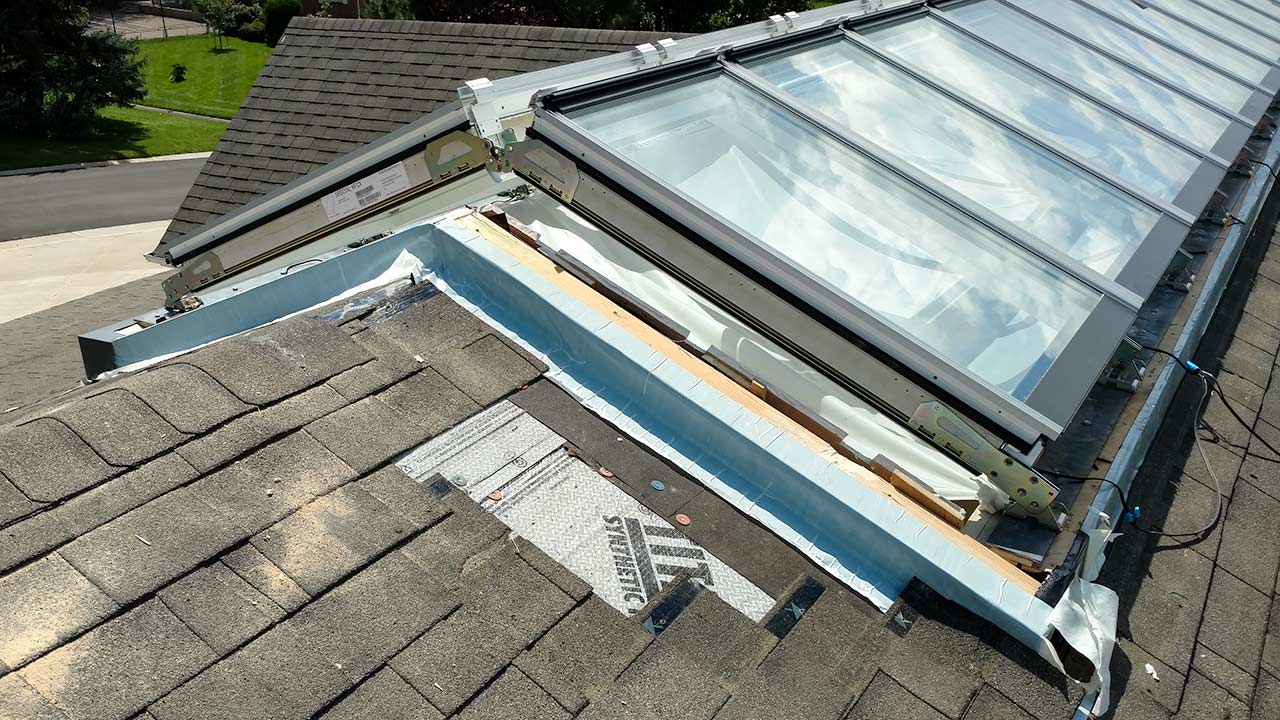
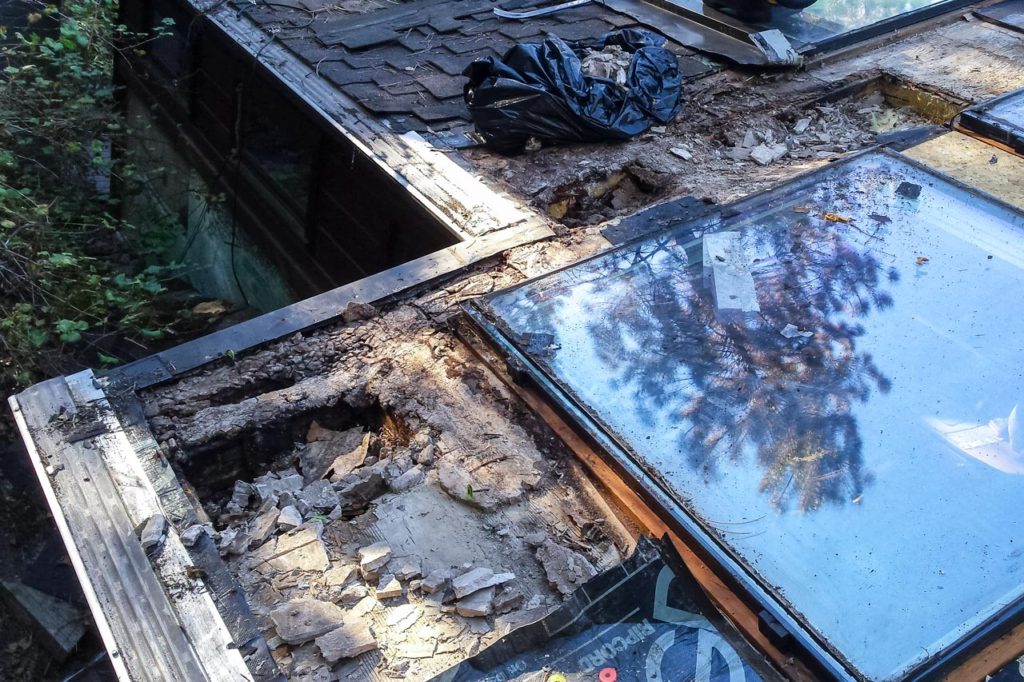
The first step, of course, is to demolish the old skylight. Our techs remove the glass, then take it off the roof. They remove the frame then break it down into pieces and haul it off the roof.
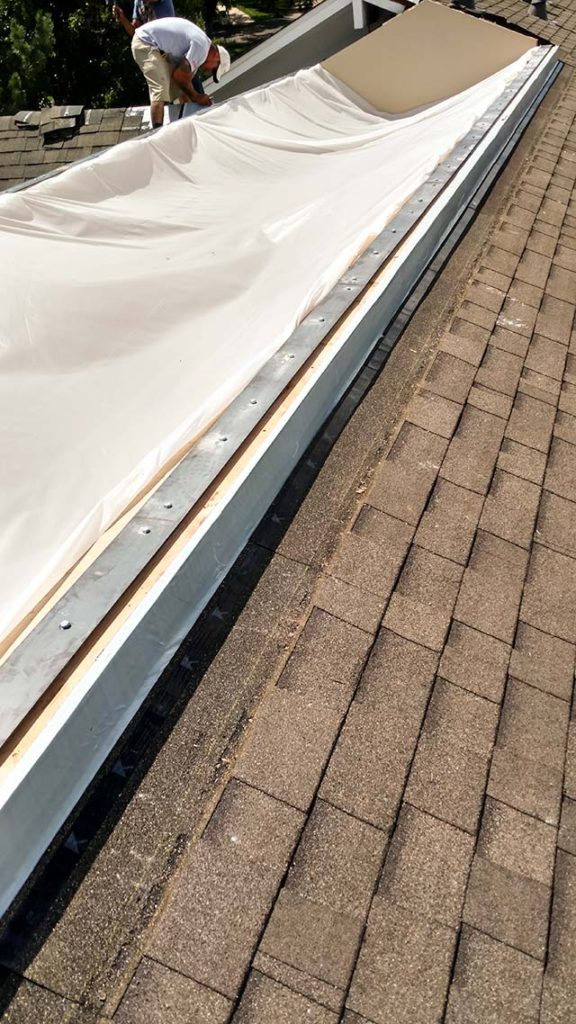
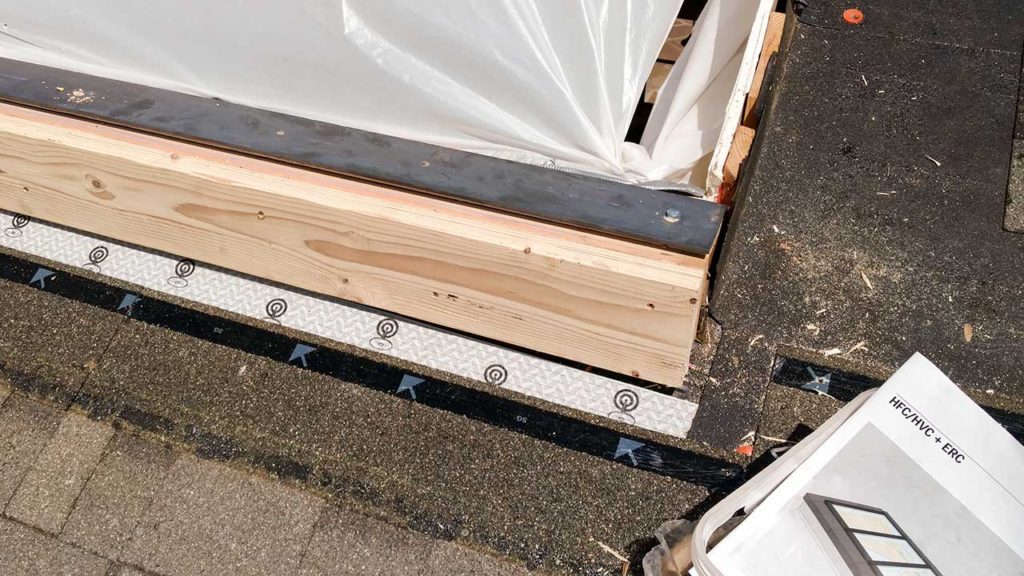
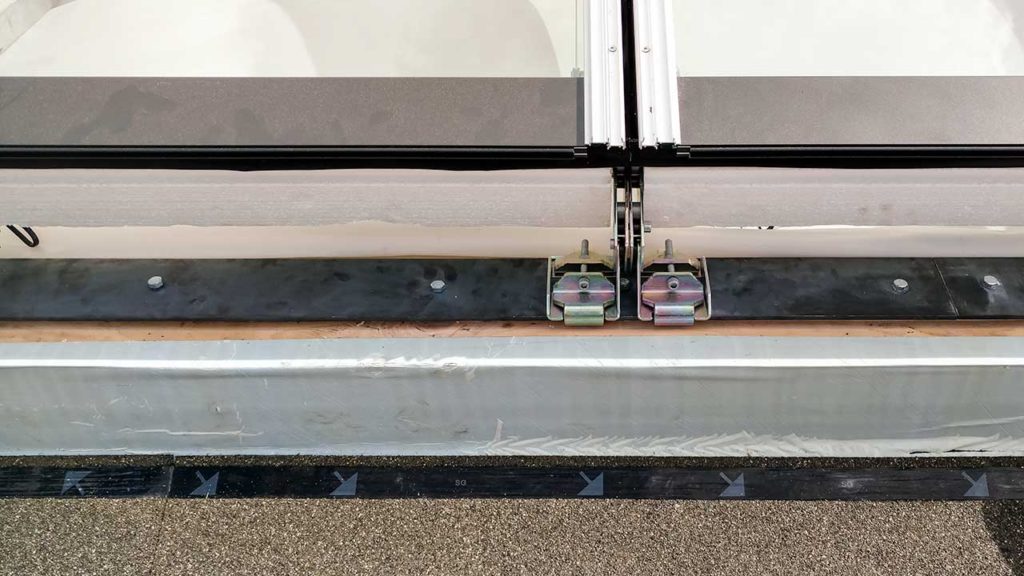
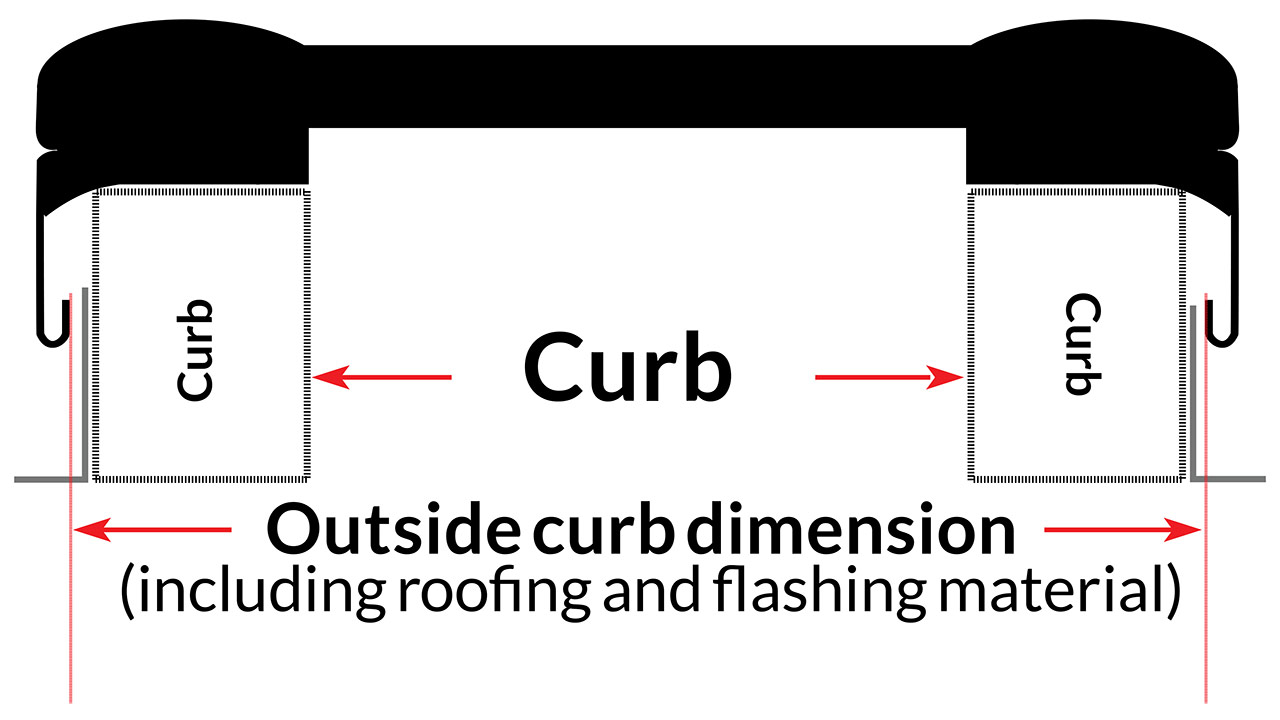
Next we modify the curb and then install the mounting plate for the modular system.
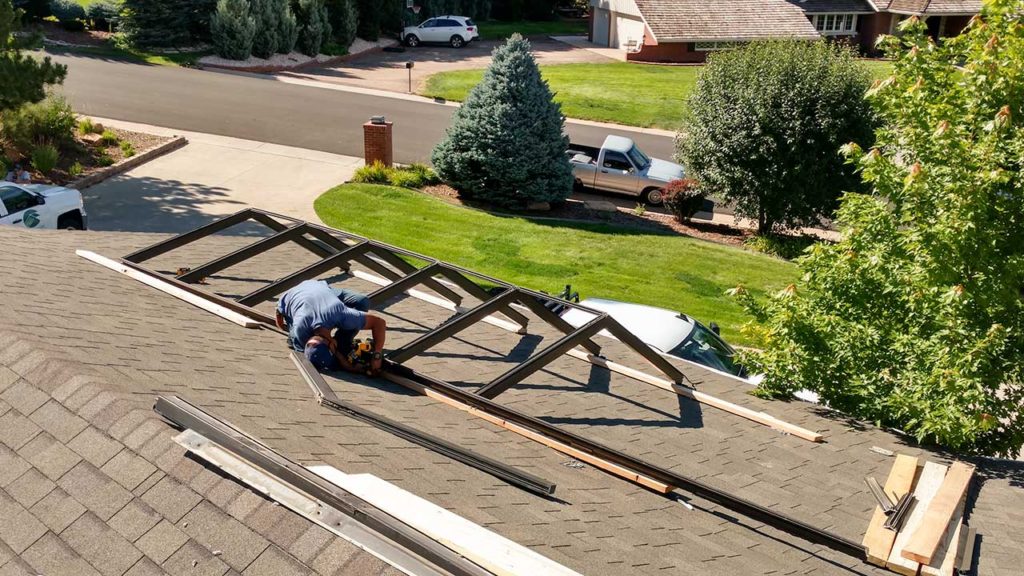
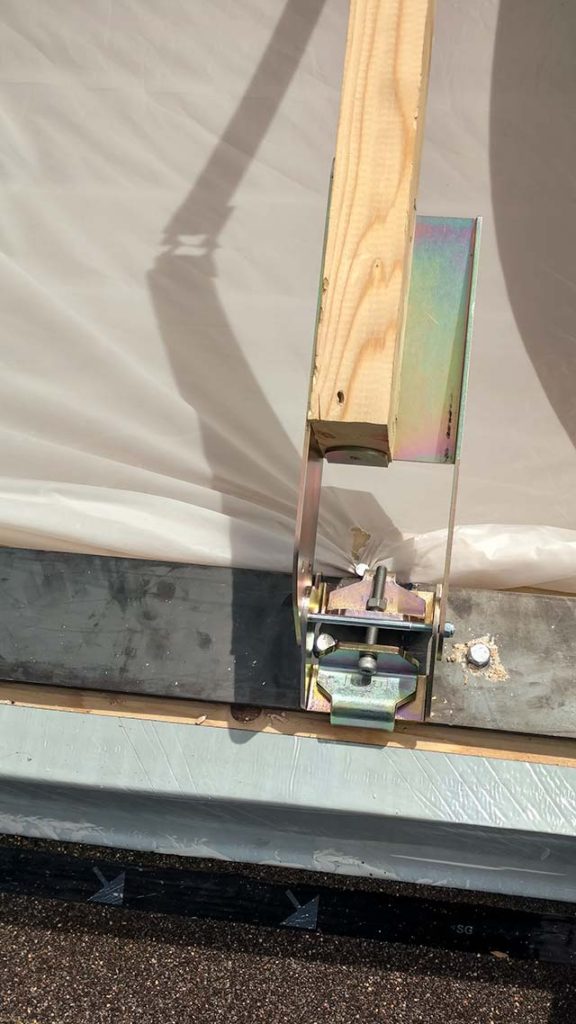
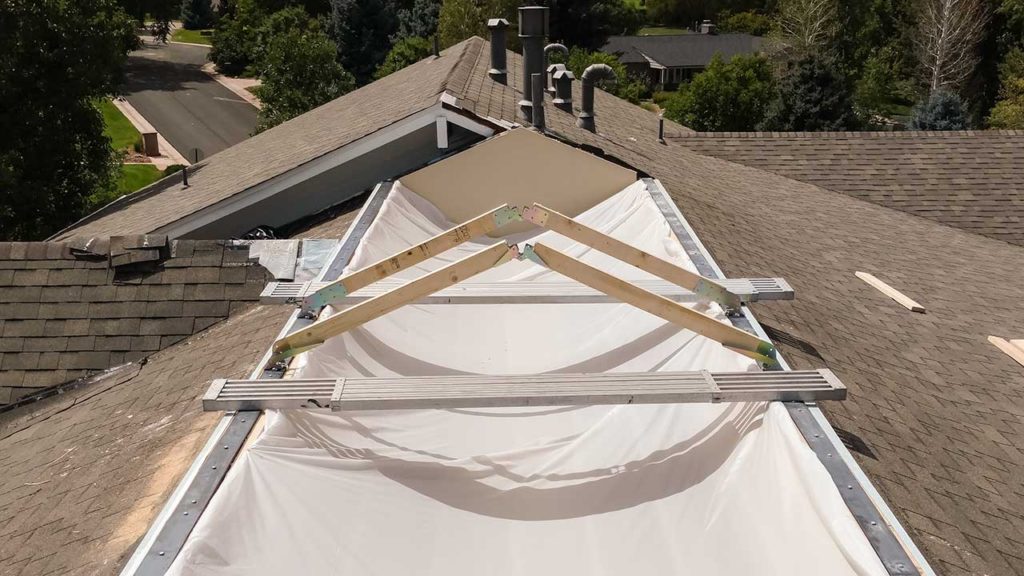
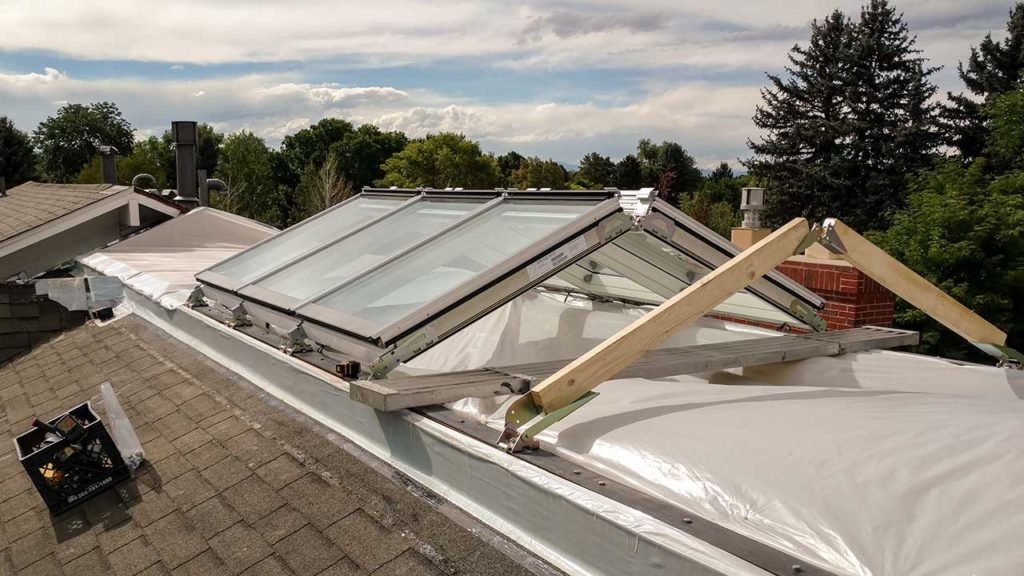
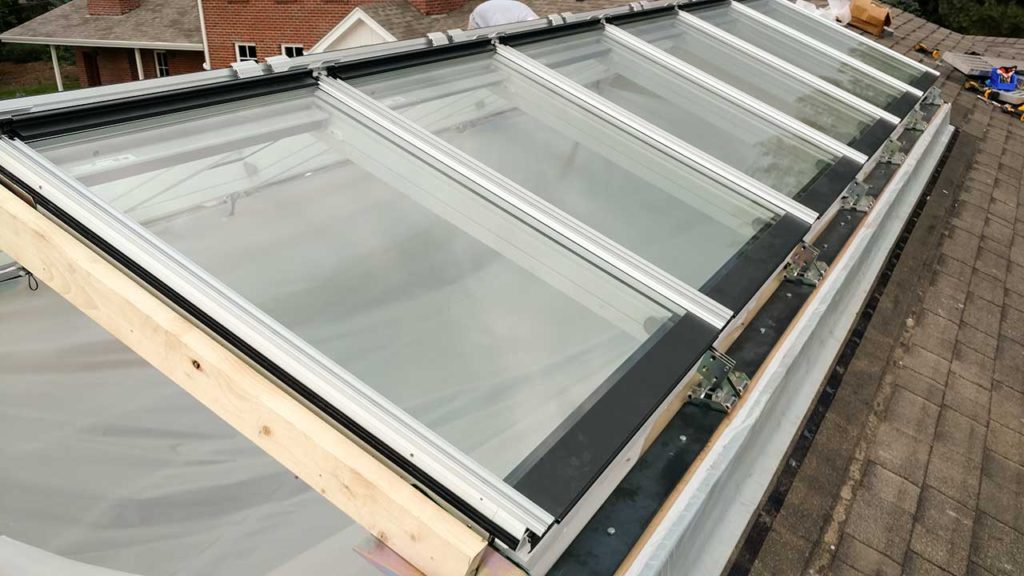
With the curb completed, we are almost ready to install skylights, but first we construct a jig. The jig attaches to the mounting plate in the same manner the skylights attach and will maintain position as well as support the units as they are connected.
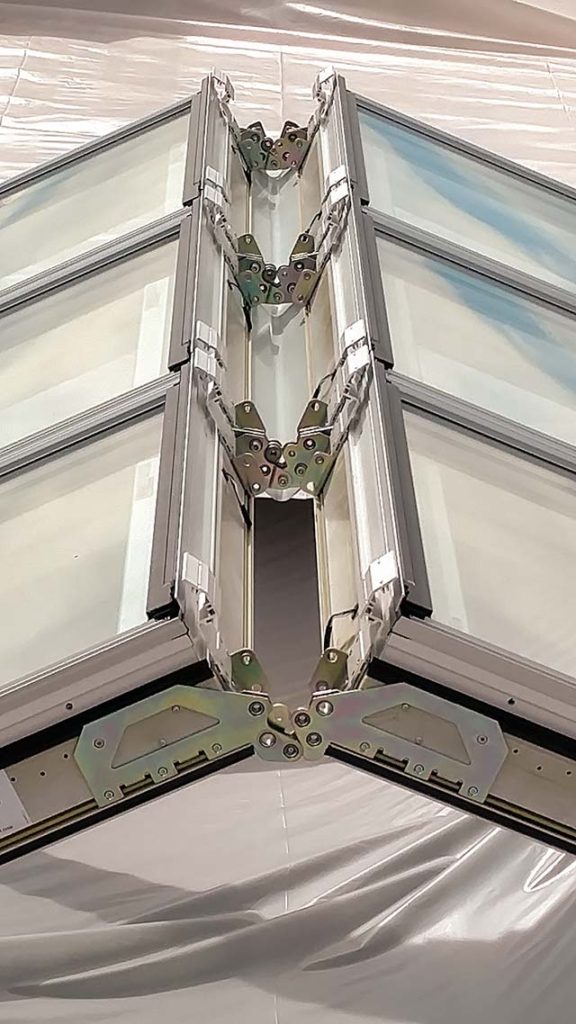
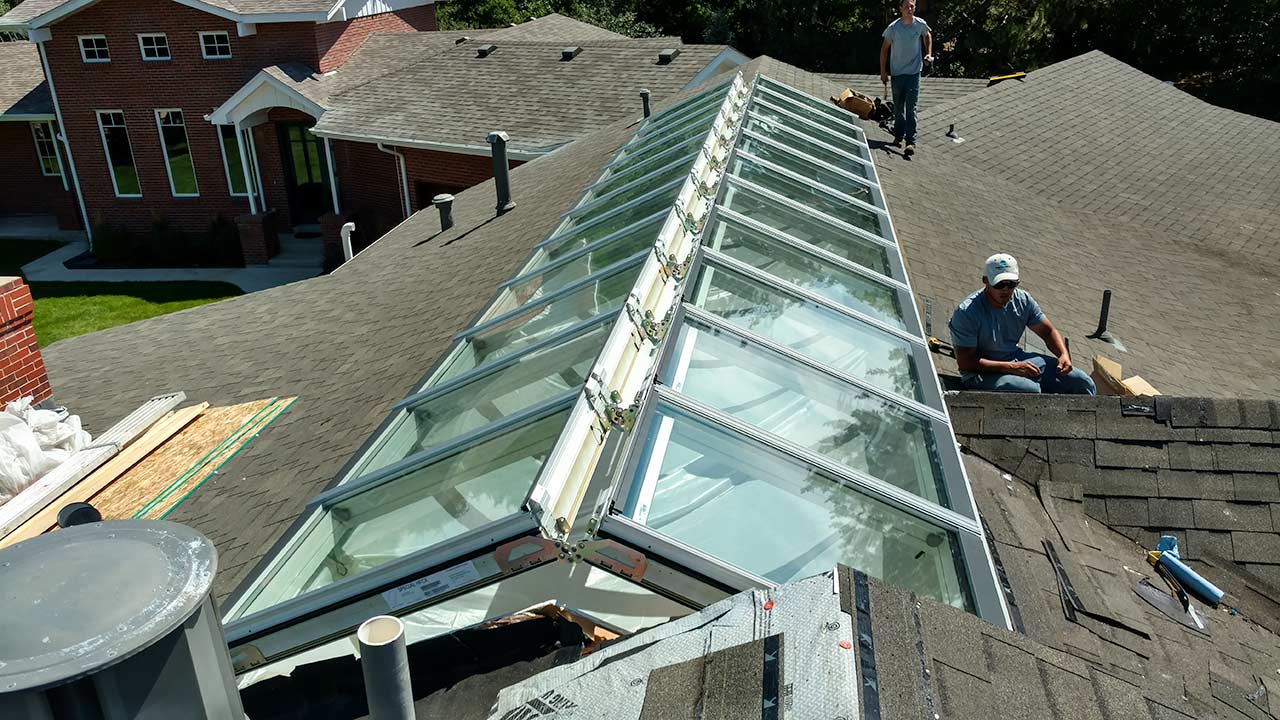
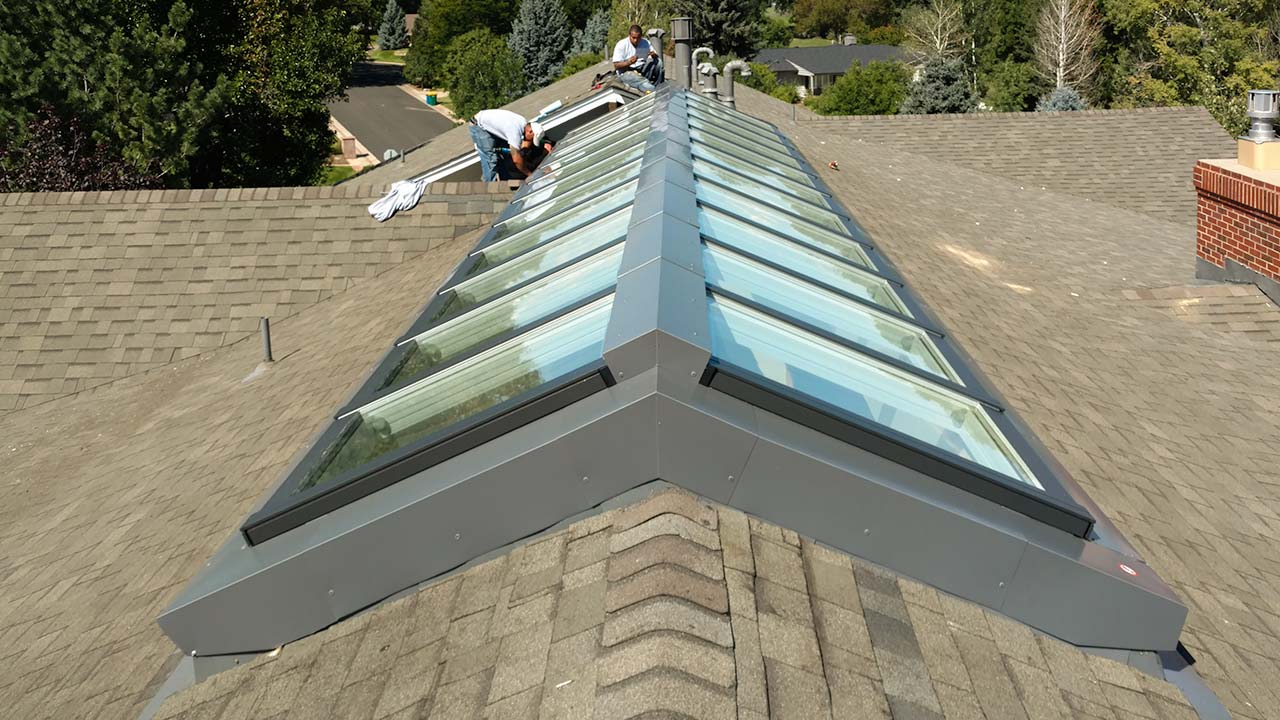
Once the set up is complete, the glazing installation proceeds quickly. Since the modular units are self supporting, no additional frame is necessary.
The intelligent design of the VMS system makes for efficient installation and as a result, it was a very successful first day!
Day Two:
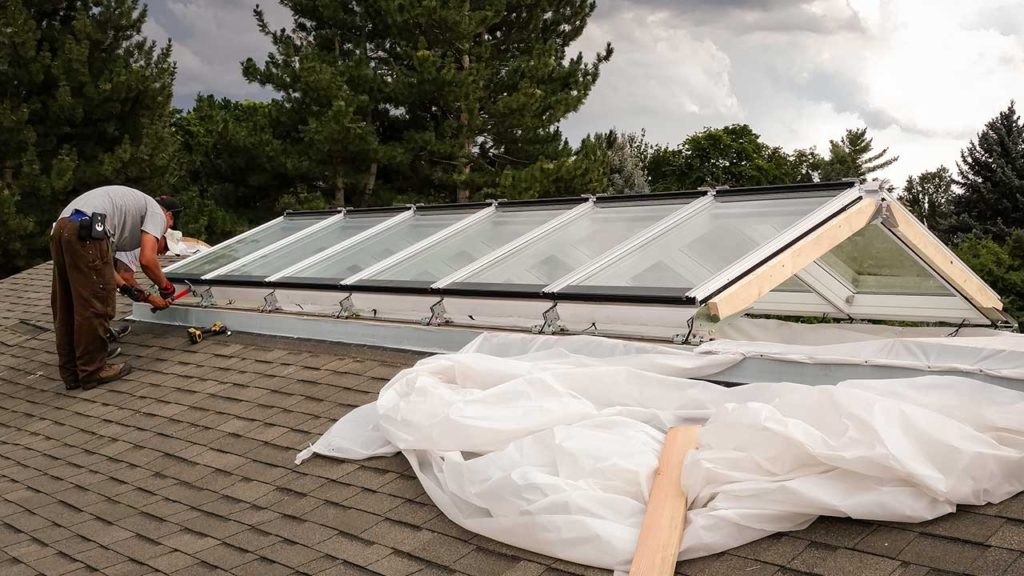
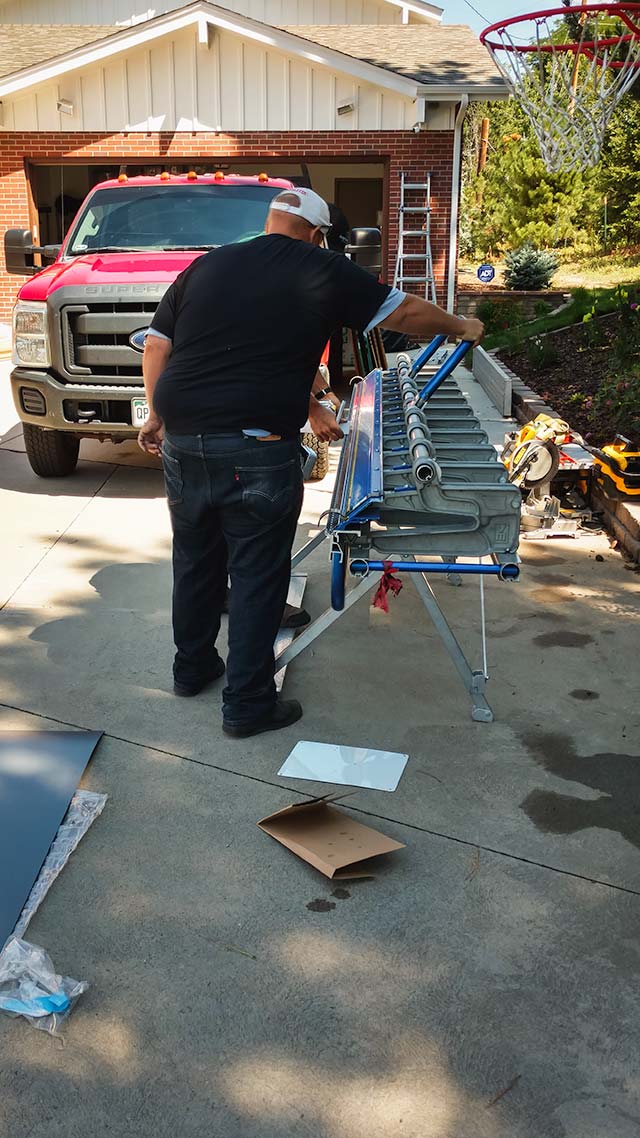
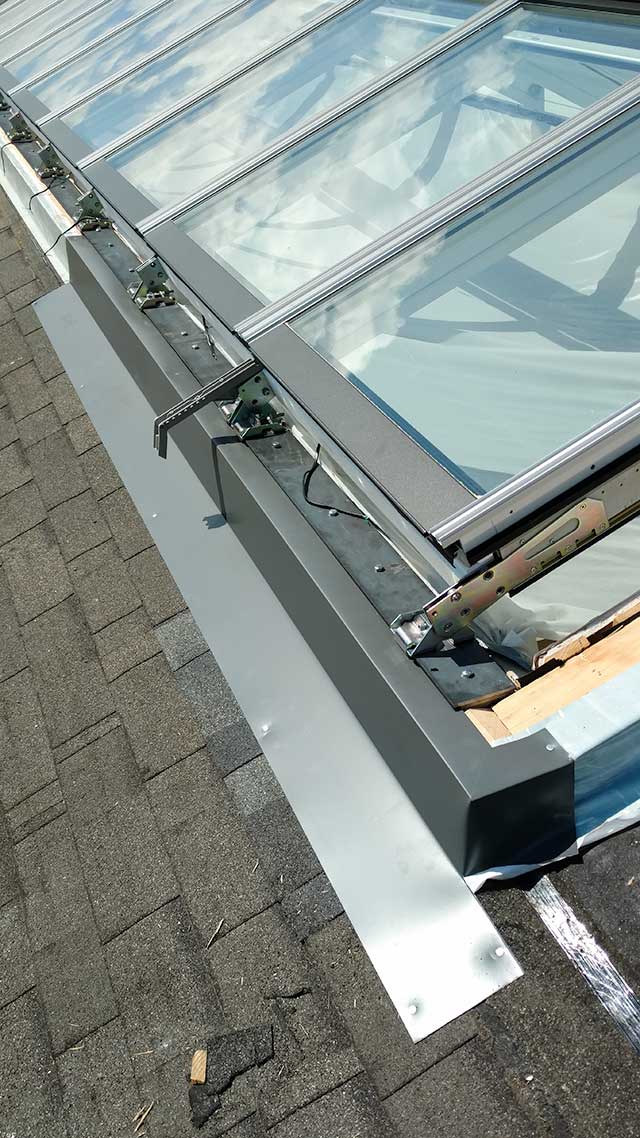
First the crew removes the tarp and then sets the remaining glass panels. Jonathan builds out the curb on the ends while Corey and Gary start bending metal for the large amounts of counter flashing. Meanwhile, Steven and JD add ice and water to the entire curb and replace shingles.
With a little work and some ingenuity, we determine how the electrical harnesses for the blinds need to be daisy-chained and ran the length of the unit.
Day Three and Four:
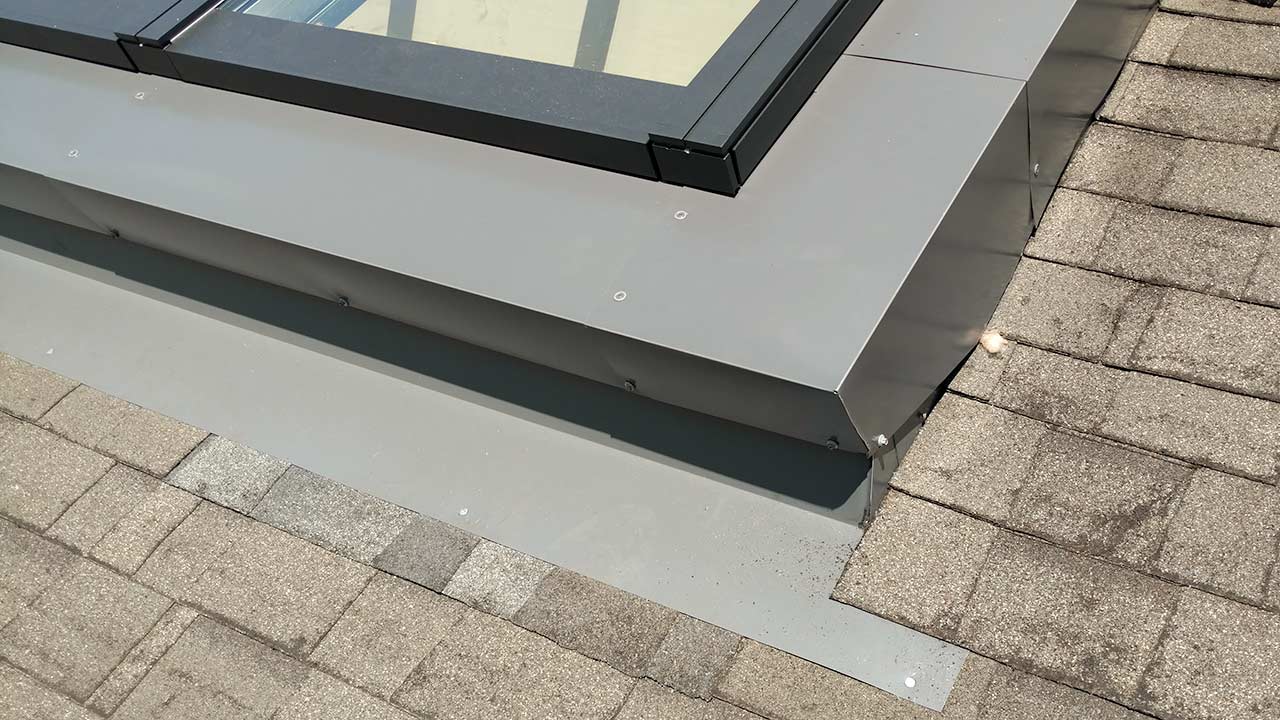
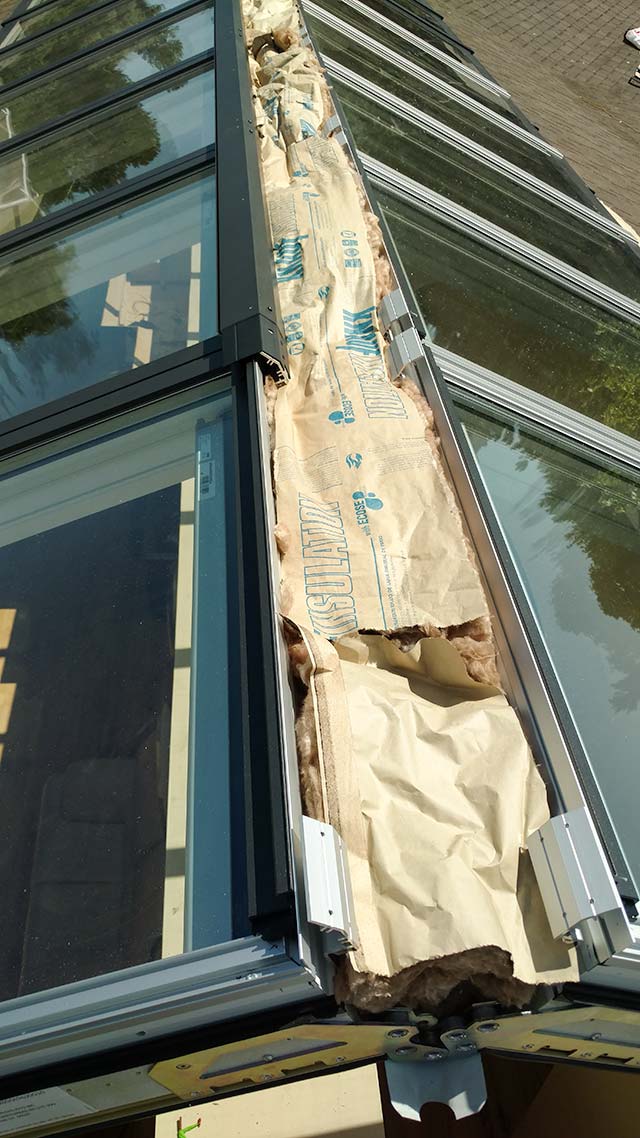
It took a solid week, but our first Velux VMS system installation is complete. The crew seals the roof line then installs insulation and all of the flashing on the unit.
Next comes the electrical wiring. We run wires to the interior closet and connect them to the control boxes that Mark installs. Power is run to the boxes and they are run to a double switch system for the homeowner, therefore the two banks of blinds operate separately.
A few small obstacles, but overall, the installation went fairly smooth, especially for our first one! A good learning experience with an impressive product by Velux.

