A Velux Deck Mount Skylight Installation.
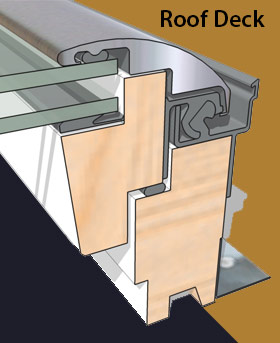
Deck mount skylights are common in the Denver metro area, especially for new installs. An advantage to the deck mount skylight is a slimmer profile. For a cleaner roof line.
They also cut down on installation costs for a new install compared to a new curb mount skylight.
They do, however, require a minimum slope of 3/12 (14°). Not to worry though, the majority of homes meet this requirement.

A kitchen without a skylight. Notice the Glare from the window.
It Begins In Your Home
It all begins with a room in your home that needs improvement. Whether it’s too dark, has too much glare, or gets too stuffy and stale everyday, there are many reasons to desire a skylight.
Next is a consultation with one of our New Installation Specialists. They receive training and experience in determining proper placement and sizing. And taking care of any other concerns you may have.
After determining details such as size, location, venting or fixed, etc., we order the product and get the job scheduled.
Call us, we’ll discuss options.
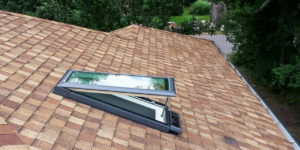
A Typical Deck Mount Installation:
This residence in the Hampden South neighborhood was built in 1976. The kitchen, with its bay windows, is a perfect candidate for a skylight. While providing lots of natural light, the horizontal nature of the light creates a lot of glare (especially off of the granite counter tops). Also, being on the rear of the house means the windows are cast in shadow for most of the day.
A skylight will balance out the light from the windows and remove the glare, while providing natural light throughout the day.

Location of future skylight 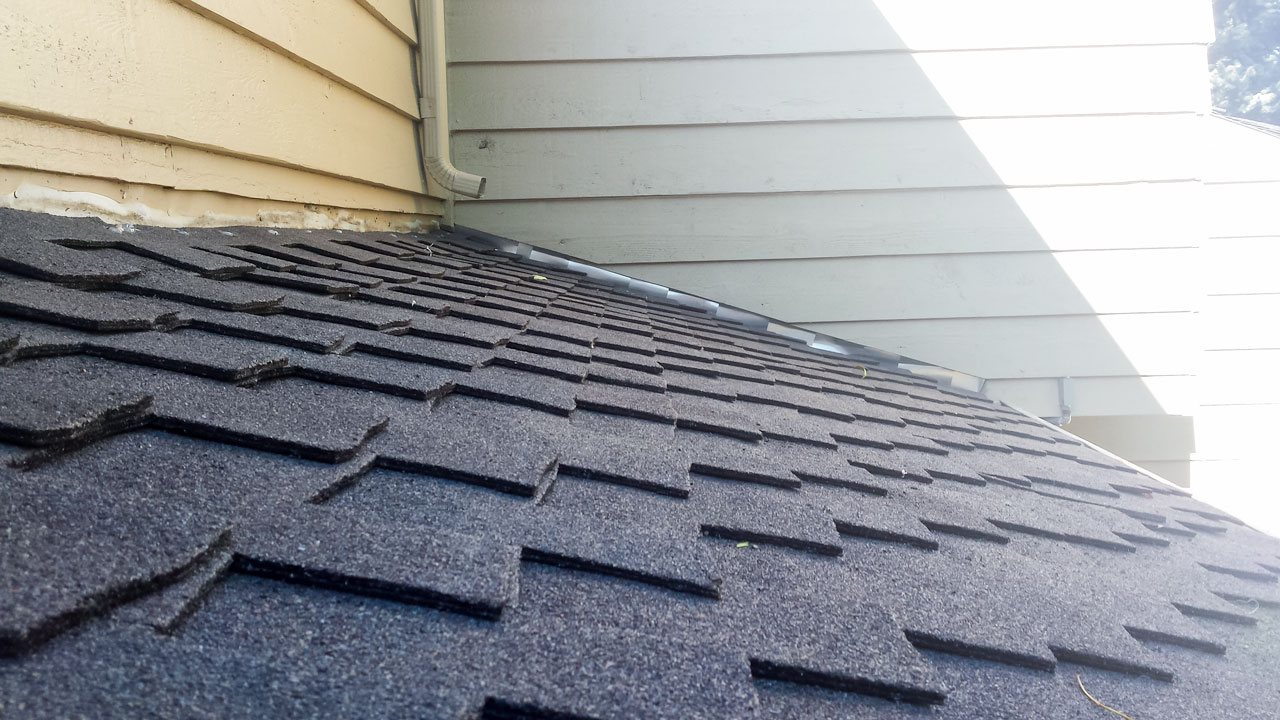
Dimensional shingles
From The Interior:
The first step is to protect the inside of the home. We take very good care of interior finishes including protecting the room with plastic. Many homeowners have commented on the extra care we take. This is not a time to just go through the motions. At the end of the day we don’t want any problems. We will even use drywall to protect counter tops and hardwood floors, as needed. It is so much easier to protect them than it is to repair or replace them!
Once the room is protected, we perform the layout from the interior. We want the location of the opening to be in the exact space as required. Either through design, such as centered in the room, or as the structure permits, i.e., centered in between the rafters. We lay out the opening on the ceiling and then up to the roof.
The next step is to install the proper headers, as needed, to support the existing structure around the openings and to hold the drywall for the shaft. After framing we install a vapor barrier and insulation.

From The Roof:
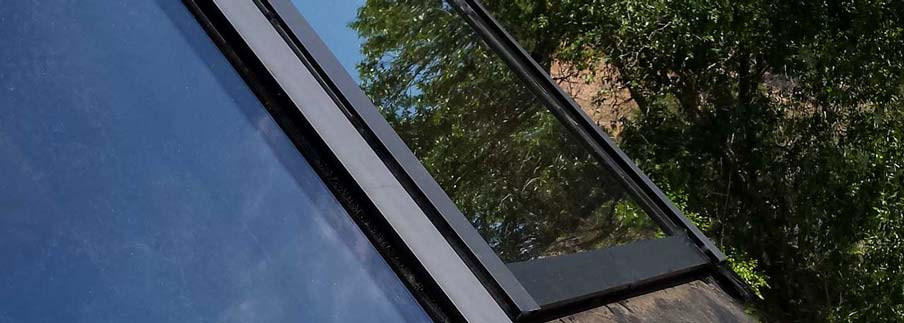
The third step is performed on the roof—the setting of the skylight. Ice and water seal is installed around the perimeter of the skylight. This really helps with preventing air and water penetration. A pre-manufactured flashing kit is interlaced with the shingles to provide a lifetime, leak free installation.
Once the skylight is set specialists install the drywall on the interior while the flashing is being done on the exterior. This helps ensure the entire job is done in one day.
Later, the drywall finisher can come in to add corner bead around the opening and tape and texture the drywall. This is scheduled at the homeowner’s convenience.
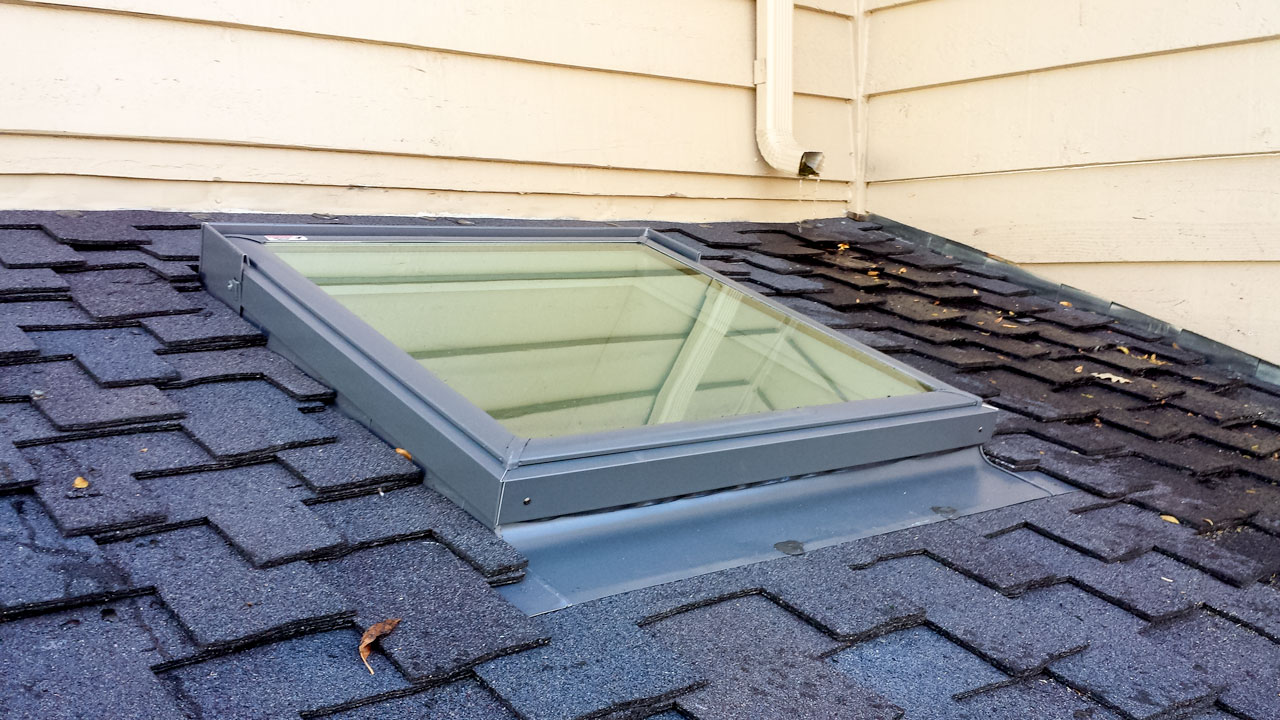
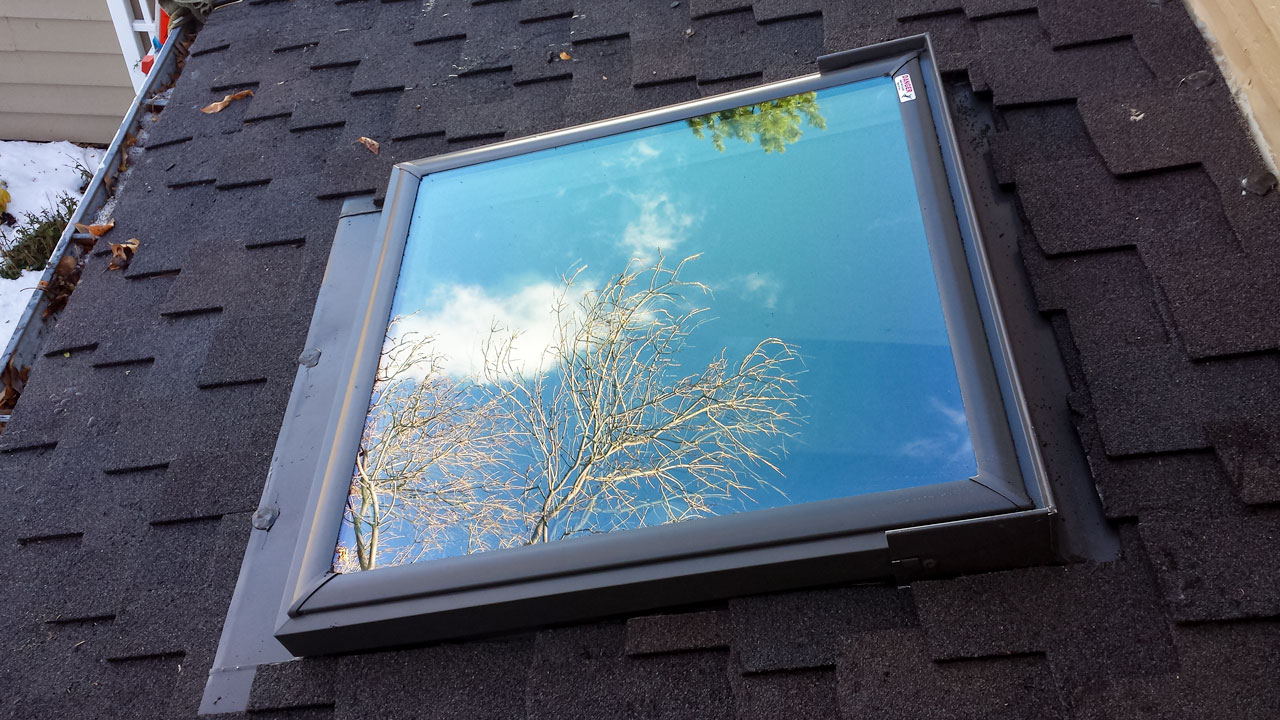
Velux Deck Mount Skylight Installed 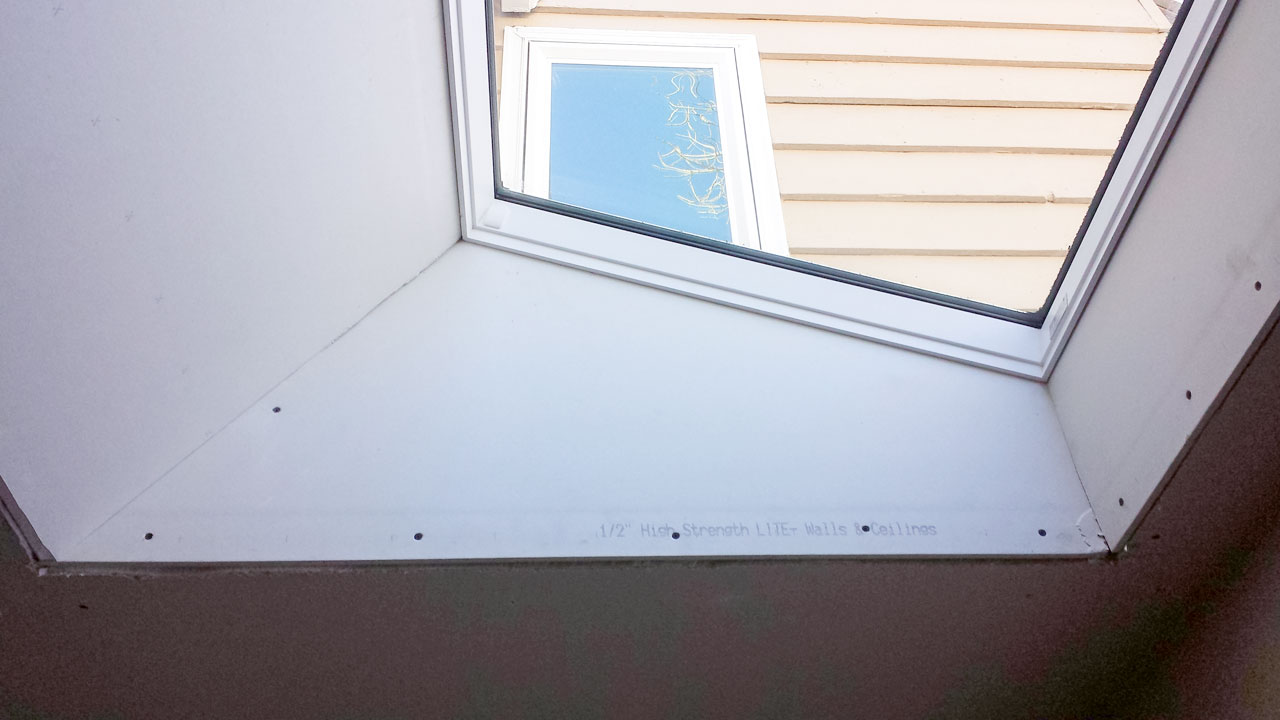
It Ends with Peace of Mind
- Skylight Specialists, Inc. warrants our workmanship for five years.
- Ten year No Leak Warranty from Velux.
- Energy Star rated. Energy savings can pay for the skylight in a few years.