A VELUX SUN TUNNEL installation is painless!
On the phone:
A typical Velux Sun Tunnel installation begins with a phone consultation. We will determine the size and number of tube lights for your desired area. With your go ahead, we can place your installation on our technician’s schedule.
The day of the SUN TUNNEL installation:
The entire Sun Tunnel installation should take around 3-4 hours.
Our technician will meet with you to determine location. He will also perform an inspection of the attic and roof. Upon confirming your installation as typical, the installation will proceed at the quoted price.
Layout:
The technician will take the location marked on the ceiling and transfer it to the roof.
He takes a rod and pokes it through the ceiling. Then, in the attic, he’ll find the rod. The location is fine tuned to fit the existing structure. That location is transferred vertically to the roof deck and a nail will mark the spot. Tube length is measured.
In the room:

The hole for the ceiling ring is marked and cut. Then the ring can be attached.
Up on the roof:
The nail is found and the roofing around it is stripped of roofing and prepared for the flashing installation. The hole is marked and cut.
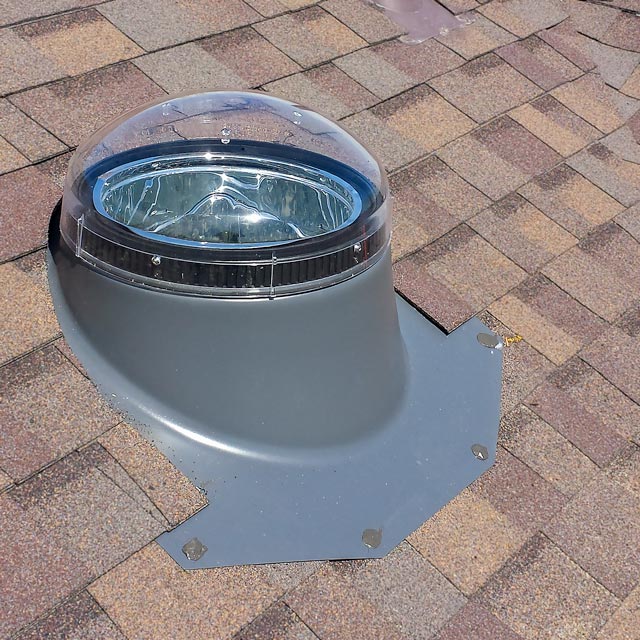
Then the flashing is installed using silicone sealant and ice and water shield—Sticky stuff for extra layers of protection.
Roofing material is re-installed. The tube is assembled and installed with a little work in the attic. And the acrylic dome caps it all.
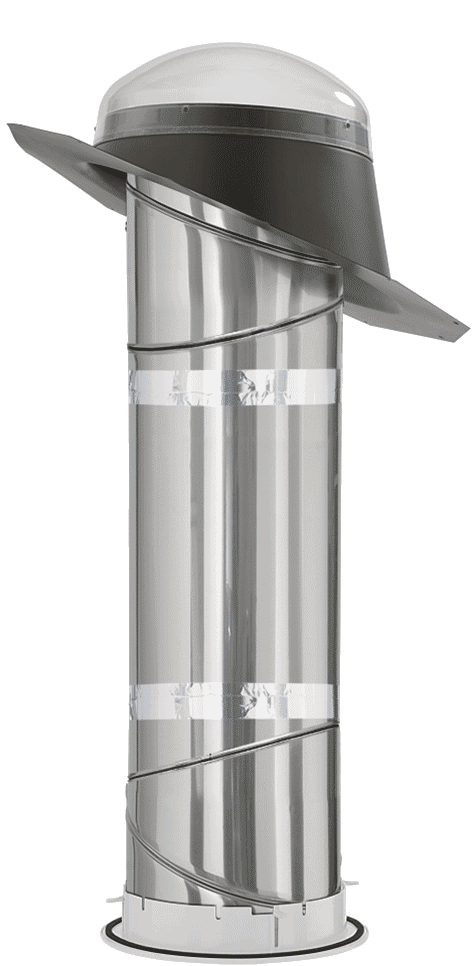
Standard pitched VELUX TMR SUN TUNNEL 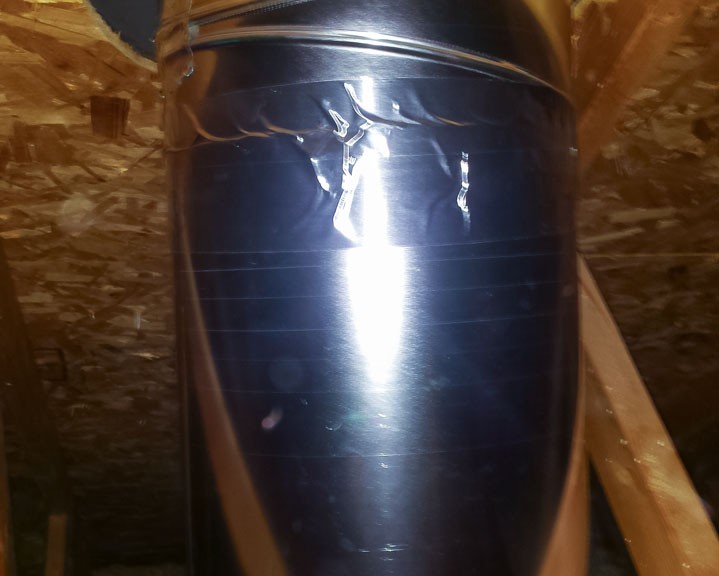
Tube extends through the hole in the roof deck and into the flashing. 
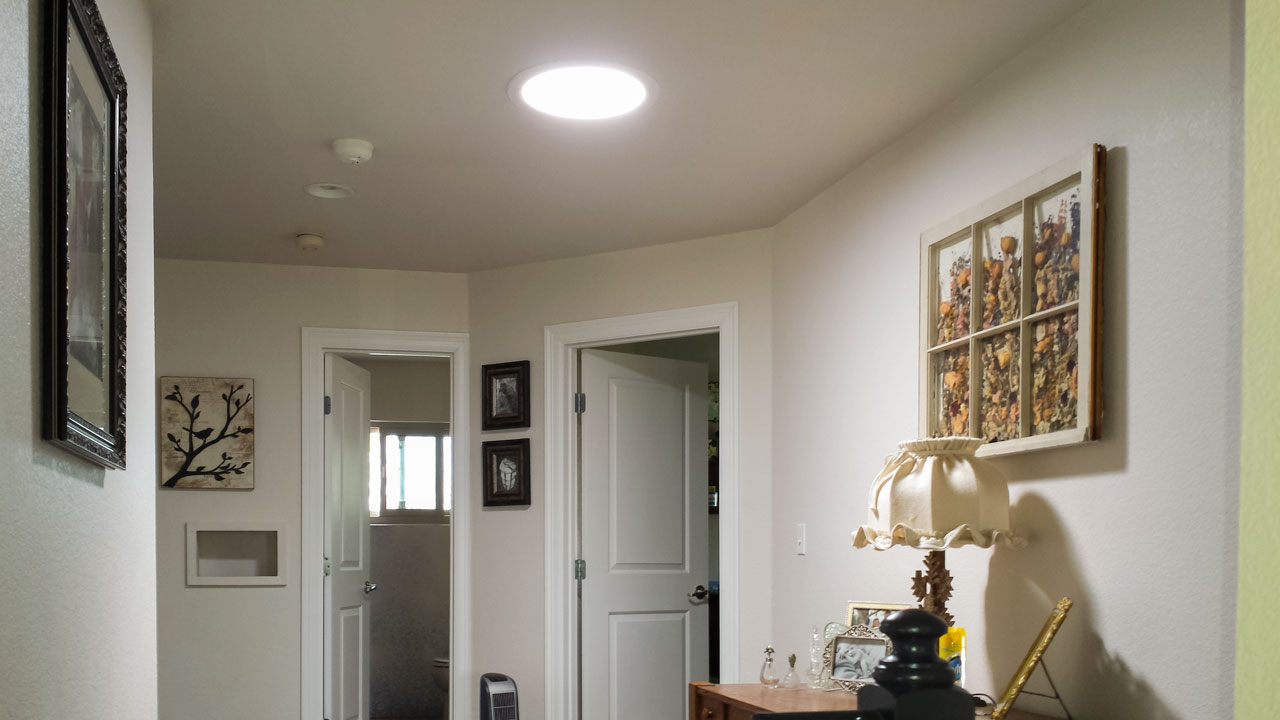
Tube extends through the ceiling.
Finishing the interior:
Back in the room, it’s time to attach the tube to the ceiling ring. The diffuser is inserted next. And a paintable trim ring completes the installation.