Light In Lakewood
Not enough light in the living room; a tale as old as time. This north facing home in Lakewood was just another victim of the traditional build styles we see across the state. Limited windows, low ceilings and a closed floor plan will never produce the amount of natural daylight your home needs, regardless the time of day. However, this combination of shortcomings isn’t a dead-end. Skylights are a perfect remedy not only for the addition of light, but the increased feel of space within the room, too.

Skylight Layout
The initial visit to our customer’s home allows us to inspect the attic space to find trusses and mock up an approximate layout for the placement of the skylights. With truss built homes, skylight installation is recommended between the supports to avoid any cuts to structural framing. Not to say this can’t be done, but this relatively easier installation also allows you to avoid the headache of permitting and city employee contact.
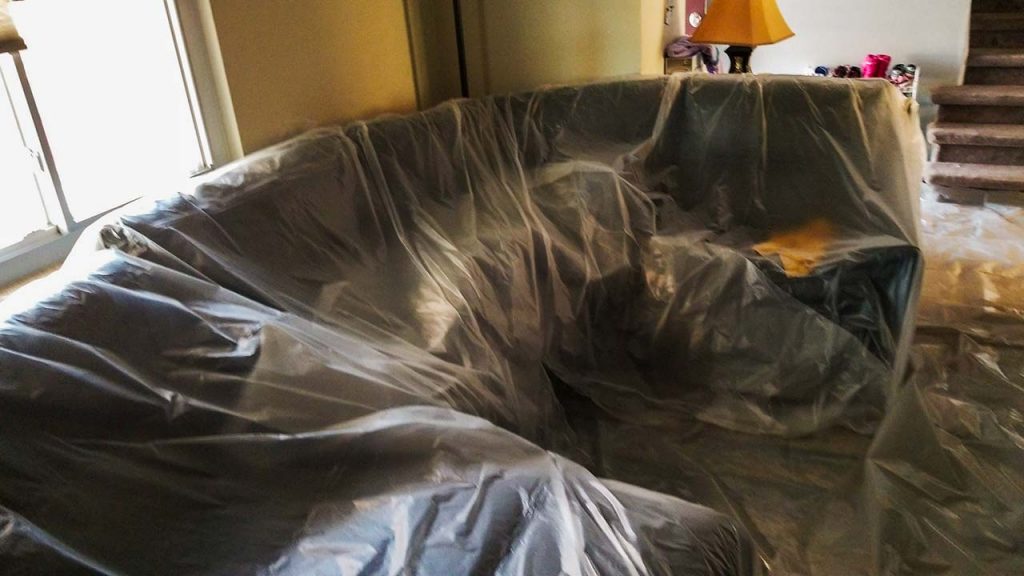
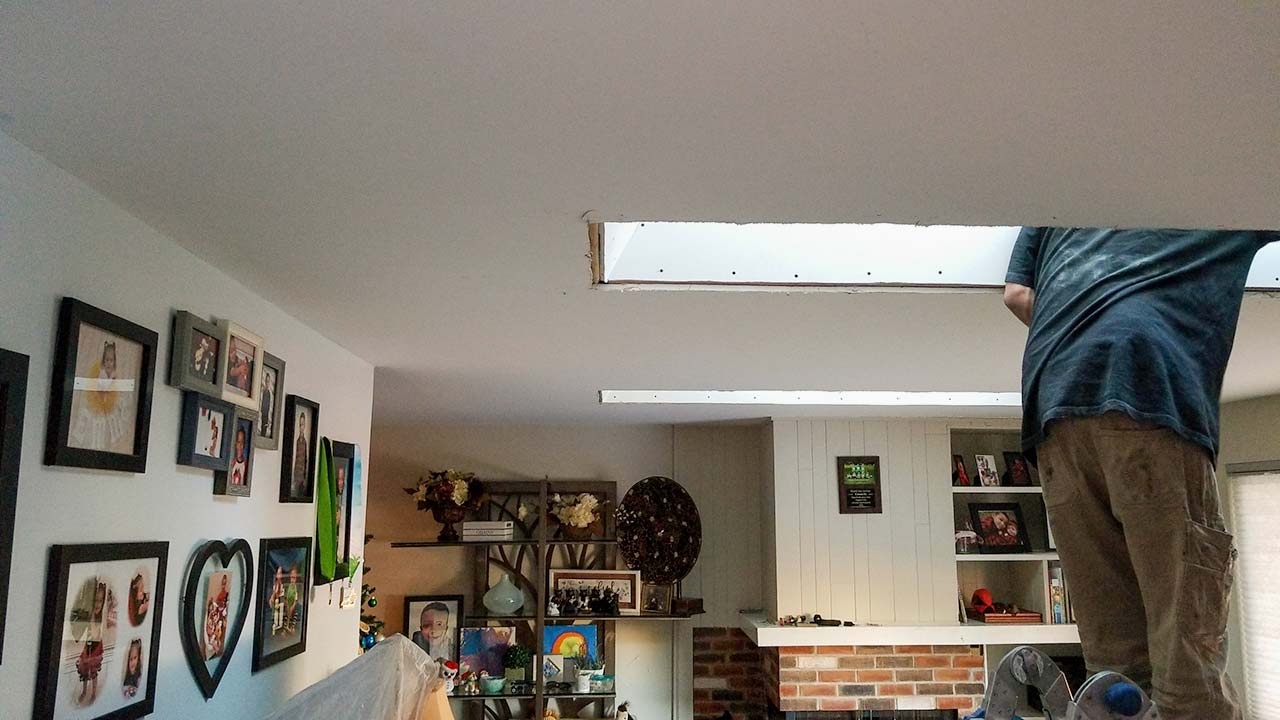
As the project officially begins, the first and most important step for us is the interior preparation. We ensure cleanliness of the work area with extensive plastic coverage and thoughtful care throughout the day. After the interior of your home is protected, our lead technician will outline the final placement of the skylights before cutting the openings.
With the customer’s approval, technicians on the interior drive nails upward through the roof decking to help our technicians on the exterior identify where to begin their work.
Teamwork Makes The Daylight Work
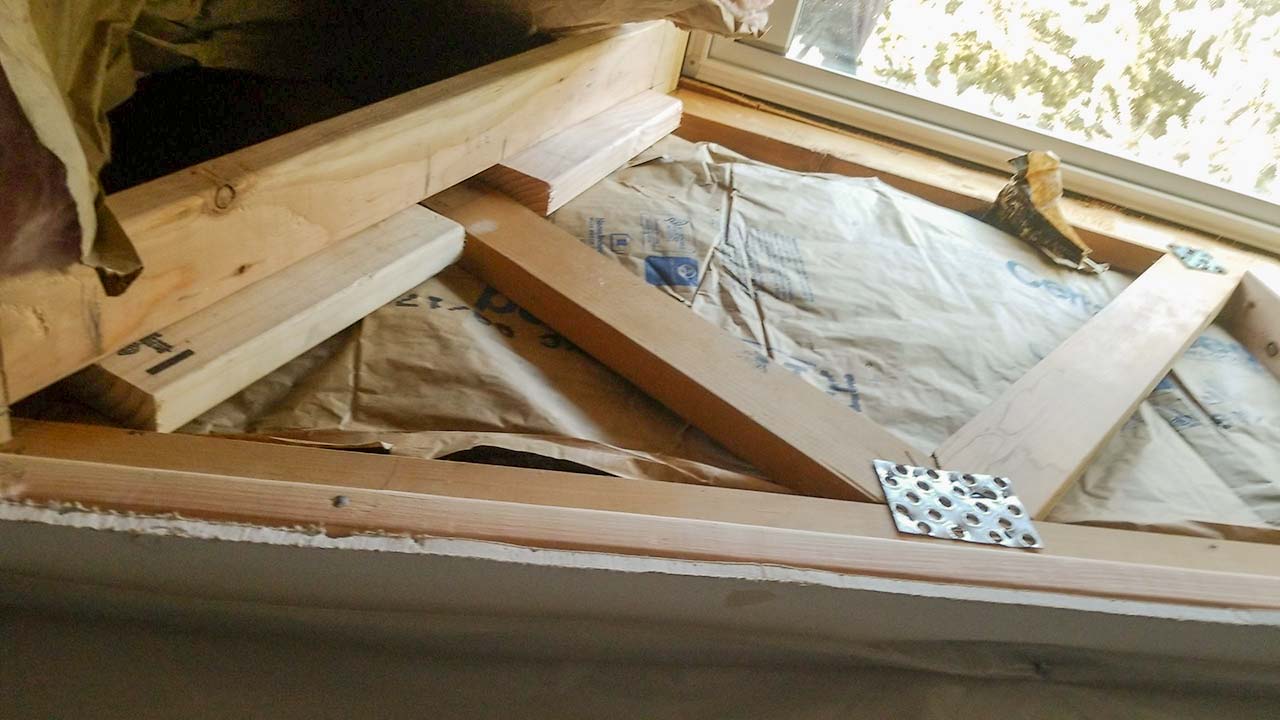
Working in unison, our technicians on the interior of the home will frame-in the new skylight shaft and prepare for insulation while technicians on the exterior strip shingles and prep the area for the initial cut-in. Exact seating of the skylight is done simultaneously using communication between the inside and outside technicians through the glass with audio and visual cues. This aligns the skylight perfectly to allow for the next phase of interior finish (drywall and texture).
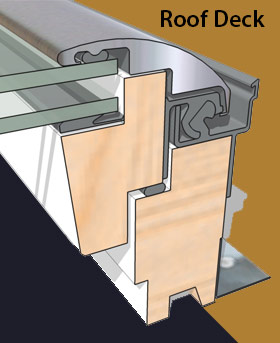
Now that the skylights have been set, technicians on the exterior will weatherproof the skylight and start putting the pieces of the roof back together. This includes using ice and water underlayment, manufacturer’s flashing kit and the existing shingles custom cut around the new units. While they’re finishing up, it gives our crew on the interior time to measure, cut and hang drywall.

Removing shingles before cut-in. 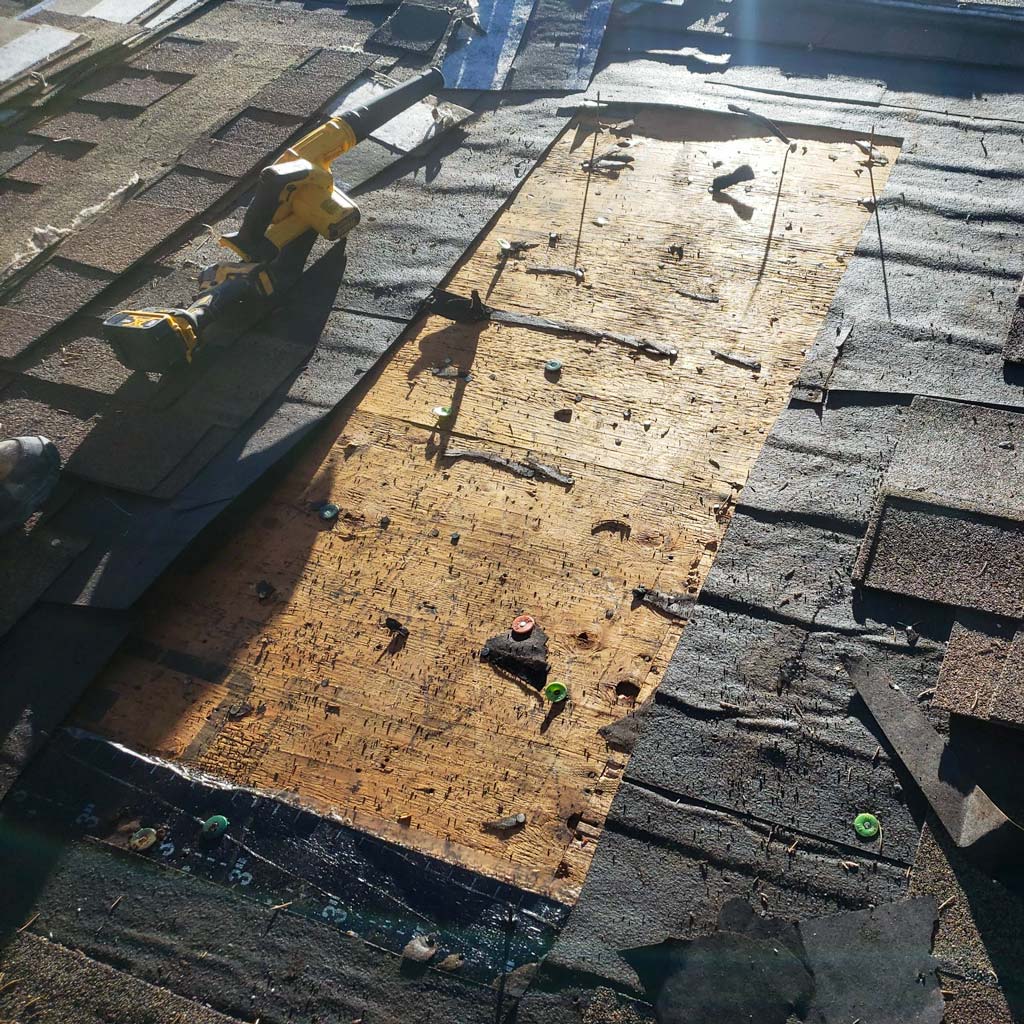
Skylight layout established, ready for cut-in. 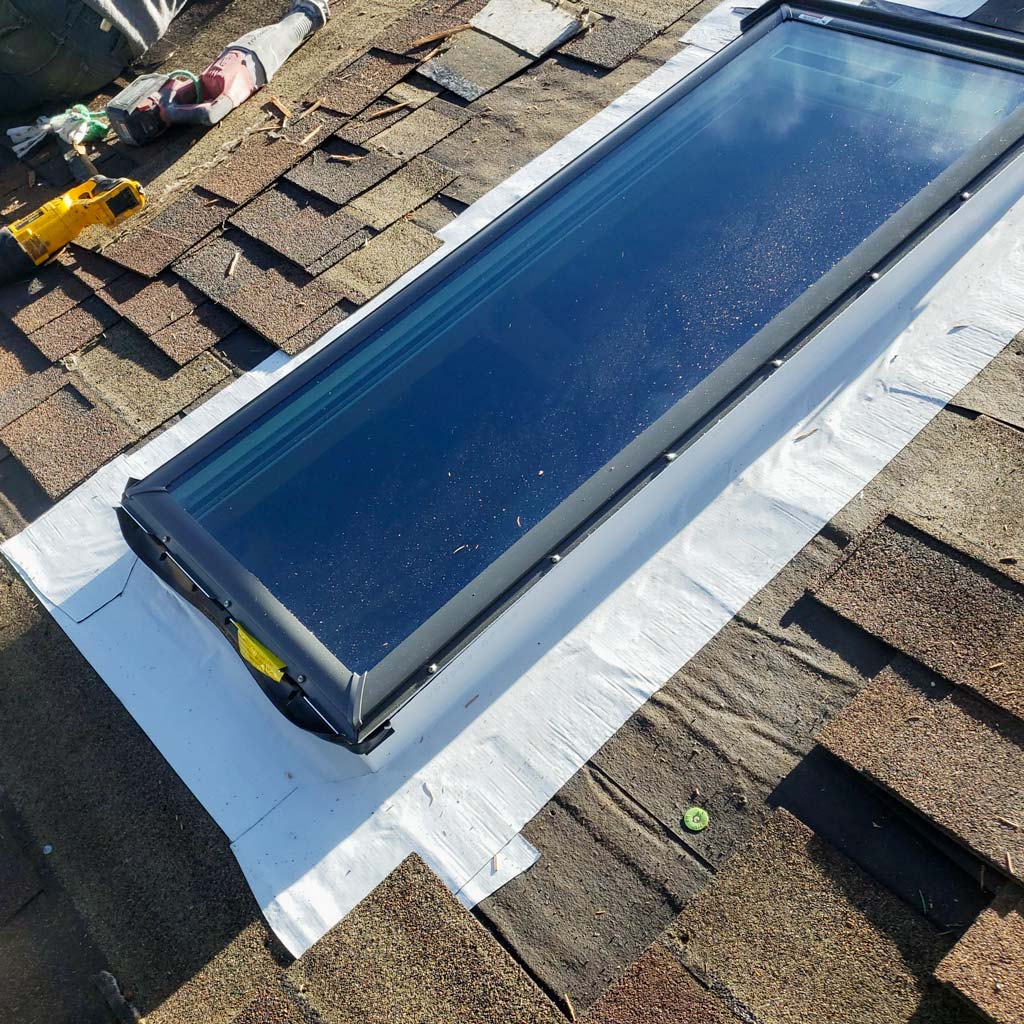
Weatherproofing in-progress. 
Skylight framing (shaft) coming together inside.
Livable Living Room
This particular customer elected to include solar powered shades in each of the skylights so the amount of sunshine can be minimized, as needed. Before our projects are considered complete, we make sure any venting skylights and/or accessories included are fully installed and functional.
In just under a day’s time, our installers have successfully completed another project. A once dark and enclosed living room is now filled with warm and welcoming sunshine throughout the day! Any new skylights stretch the limits of any living space we occupy and give our rooms the feeling of added space.

Drywall installation wrapping up. 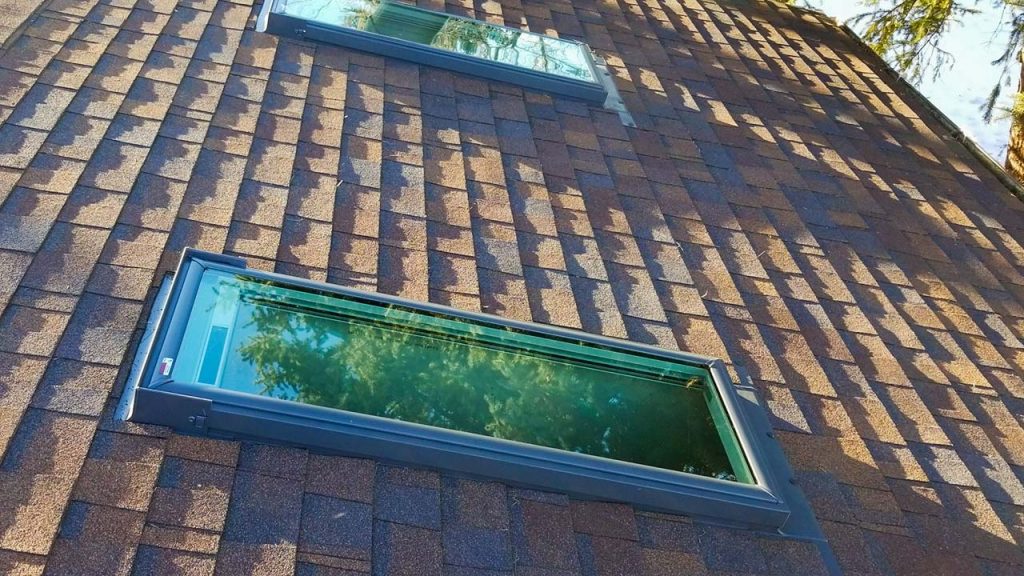
VELUX Skylights installed!