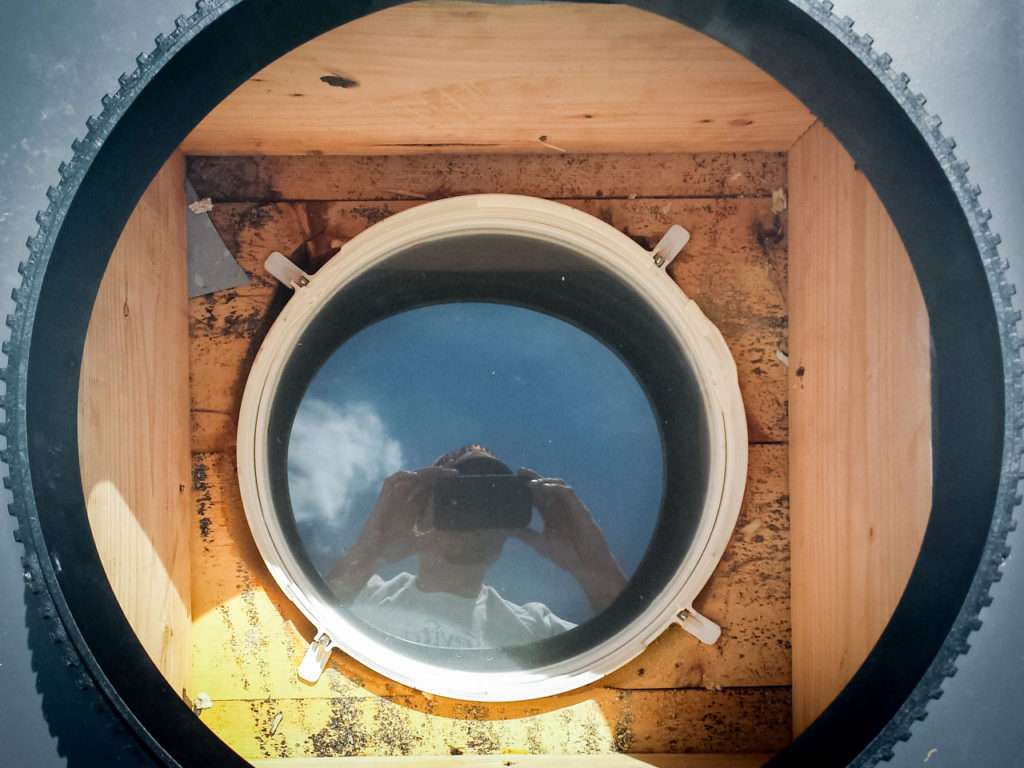
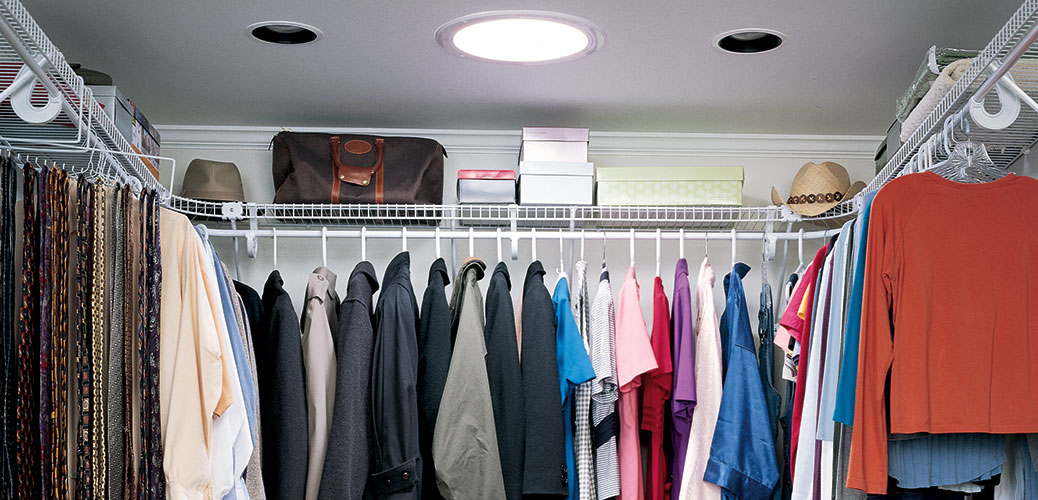
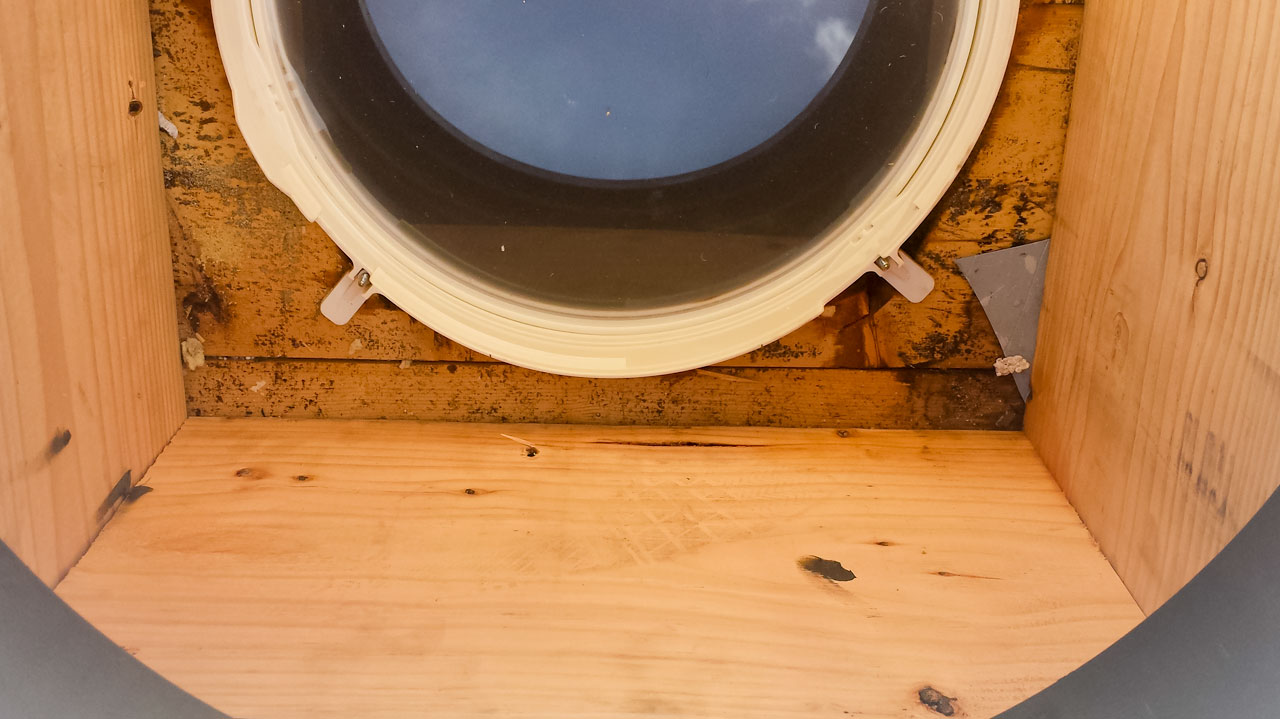
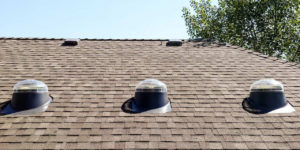
Typical VELUX Curb Mounted SUN TUNNEL Installation.
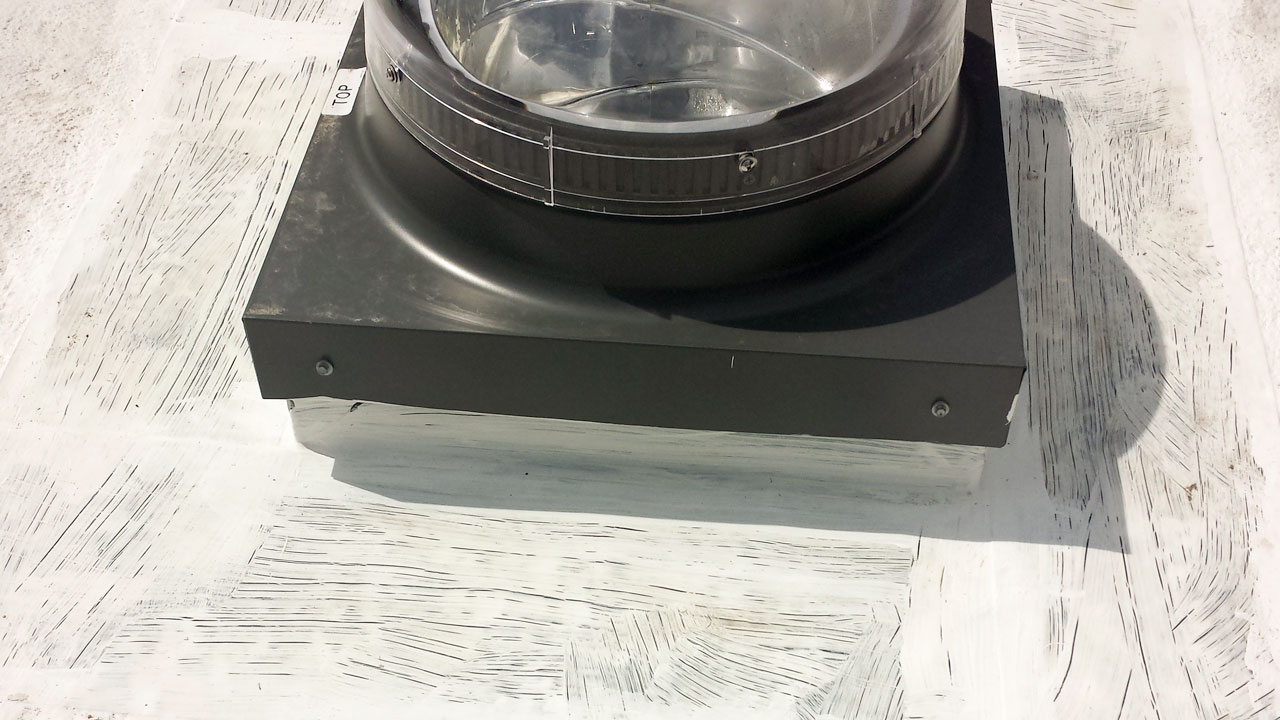
Curb mounted Velux TCR Sun Tunnels are utilized for the same reasons curb mounted skylights are—the roof is below a 3/12 pitch.
This Sun Tunnel is only available in a 14″ size. Domes are typically acrylic, however impact domes are available at a slightly higher cost.
The Installation Process
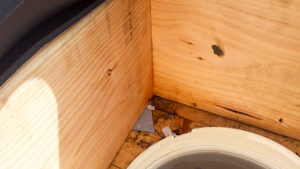
The process is no different than the typical Sun Tunnel installation except for the way it is weatherproofed. Whatever materials are used on the flat roof is the same material used for the flashing. Velux does supply the aluminum cap that seals off the top of the curb, similar to the way a shoe box lid would fit.
Installing a typical curb mounted skylight is a simple process.
First Step:
The first step is to figure out where you want your Sun Tunnel lens to be located on the ceiling. The framing structure helps determine locations. Framing can be moved, but isn’t typically done with this type of a skylight.
Second Step:
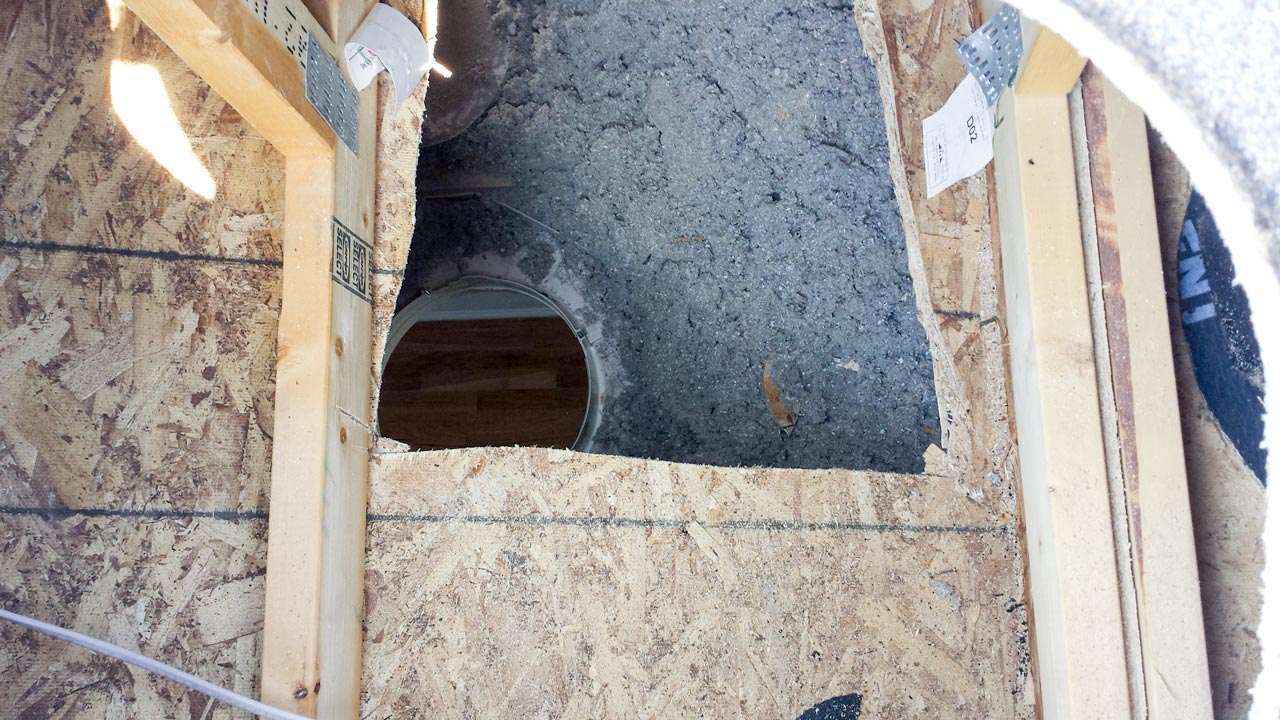
The second step is to move the insulation back and cut through the ceiling and roof deck. Layout can help with avoiding obstructions in your attic, but sometimes things need to be relocated. Then, set the curb on the roof and flash the curb to the roof.
Third Step:
The final step is to simply install the Sun Tunnel, tube, lens and the one piece metal flashing cap over the curb.
Fourth Step: Peace of Mind!
- Skylight Specialists, Inc. warrants our workmanship for five years.
- Ten year Warranty from Velux.


